
Photo album
A photo album is a selection of images of a folder and you can define which images should belong to the photo album. Once created, you can view it in a slide show. A photo album is opened or newly created with the menu item "Images" → "Photo album".
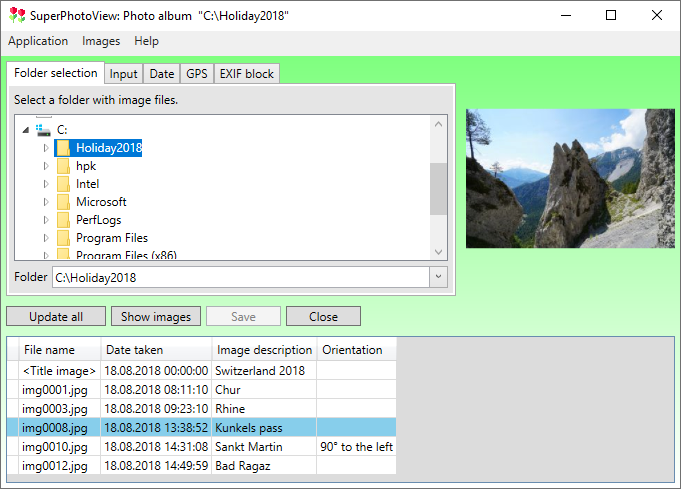
In the tab sheet "Folder selection" you select the folder in which the photo album is stored or should be newly created. If the selected folder doesn't contain a photo album file, the button "Create new" is available with which you can create a new photo album.
Insert images
Images can be added to a photo album by clicking with the right mouse button into the data table. This will open a context menu:
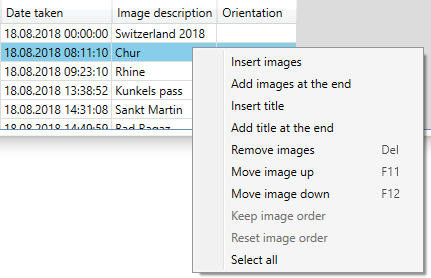
With the menu item "Insert images" you can add new images and they will be inserted in front of the currently selected image in the photo album. The menu item "Add images at the end" adds the images at the end of the photo album. Multiple images can be added at once by holding down the Ctrl or Shift key while clicking an image file in the file selection dialog.
Title images
Title images provide additional description texts for the slide show and they are shown between real images. Title images can be added by the context menu items "Insert title" and "Add title at the end" and they have the following features:
- You can assign only a description text and a date taken to the title image. These data are stored in the photo album file.
- The definition of the date taken ensures that the title image stays at the intended position, when the photo album is sorted by the date taken.
- In the slide show the description text of the title image is output in the center of the screen.
Remove images
In order to remove all selected images call the menu item "Remove images" in the context menu of the data table. By default image files are only removed from the photo album but not from the file system. So you can insert them later again. But if you check the checkbox "Additionally delete the image files from the drive" the images are also deleted from the drive. While deleting they are moved to the recycle bin, provided the drive in question offers a recycle bin.
Change image order and sort images
You can change the order of the images manually by using the menu items "Move image up" and "Move image down" in the context menu of the data table. These operations move the selected image one line up or down and only one image may be selected at once. An automatic sorting of the images by an EXIF tag, e. g. the date taken, is also possible. For this click with the left mouse button on the EXIF tag in the header of the data table. The new sort order is initially only temporary, i. e. this does not change the internal order of the images in the photo album. Only when you call the menu item "Keep image order" the current image order is kept permanently, provided that you save the photo album before it is closed. But if you want to clear the temporary sorting call the menu item "Reset image order".
View images in a slide show
You can view the images in a slide show by pressing the button "Show images". Then the following selection window appears:
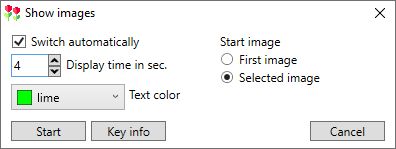
Here, the following setting options are available:
- You can choose between automatic and manual switching to the next image.
- In case of automatic switching you can specify the display time of an image.
- The text color for the image descriptions is selectable.
- If you want to view only part of the images, you can start the slide show with the currently selected image.
- With the button "Start" the slide show is started. In order to switch to the next image press the arrow key to the right on the PC keyboard. With the "Esc" key the slide show is closed. A table with all available keys appears by clicking the button "Key info".